Are you tired of being tethered to your Raspberry Pi, limited by its physical location? The ability to remotely access and control your Raspberry Pi, regardless of its location and the constraints of a firewall, is not only possible but surprisingly straightforward.
The challenge of accessing a Raspberry Pi remotely, especially when it's behind a firewall, can seem like navigating a complex maze. Conventional methods often involve port forwarding, which may be blocked by your network administrator, or the use of Virtual Private Servers (VPSs), which can incur recurring costs. However, there's a range of techniques and tools available that offer elegant solutions, allowing you to manage your Raspberry Pi from anywhere in the world, all while maintaining a high level of security.
Before delving into the specifics, it is crucial to understand the underlying principles. A firewall acts as a barrier, preventing unauthorized access to your network and devices. It does this by inspecting network traffic and blocking any connections that don't meet pre-defined criteria. This is where the difficulties lie, as directly connecting to your Raspberry Pi, especially using protocols like SSH or VNC, might be prohibited by the firewall's rules.
The core of the problem lies in the configuration of your network and the restrictions imposed by the firewall. Corporate firewalls, in particular, are designed to be highly secure, often disallowing any inbound connections. This necessitates innovative strategies to bypass these limitations and establish a secure connection to your Raspberry Pi. Fortunately, several approaches, ranging from setting up VPNs to using cloud-based solutions, offer viable solutions.
Many enthusiasts and developers often ask "how to use my mac laptop as a monitor and keyboard to program my Raspberry Pi remotely without having to hook up a monitor and keyboard to the Raspberry Pi." Thankfully, a few steps make this possible and easy.
One of the most popular methods is to use a VPN. However, some VPN setups require port forwarding, which might not be feasible if you are behind a restrictive firewall. Other options involve using a VPS, which while offering a solid solution, also introduces recurring financial overhead. These considerations highlight the need to explore alternative methods that offer ease of use, cost-effectiveness, and robust security.
With the right tools and configurations, you can easily monitor and control your Raspberry Pi from anywhere in the world. The key is to identify the best approach for your specific environment and security needs.
In this discussion, we'll explore the most effective methods for accessing your Raspberry Pi securely, even when it's behind a firewall. We'll cover various approaches, from setting up secure VPNs to utilizing cloud-based solutions, ensuring you have all the knowledge necessary to establish a reliable remote connection.
Let's assume a hypothetical scenario. Imagine you are in a coffee shop in Paris, and you need to check on your home automation system, built around your Raspberry Pi, located in your house in Seattle. Or you're a developer on a trip to Tokyo, and you need to access your project hosted on a Raspberry Pi server back in your office in London. In situations like these, the ability to connect remotely to your Raspberry Pi becomes invaluable.
To illustrate the range of possibilities, heres a look at various methods, along with their associated steps and the level of technical expertise they require.
The simplest method is often using SSH (Secure Shell). You can connect to your Raspberry Pi and change its settings, like the SSID and password. You can then exchange the access point (AP) to the new one.
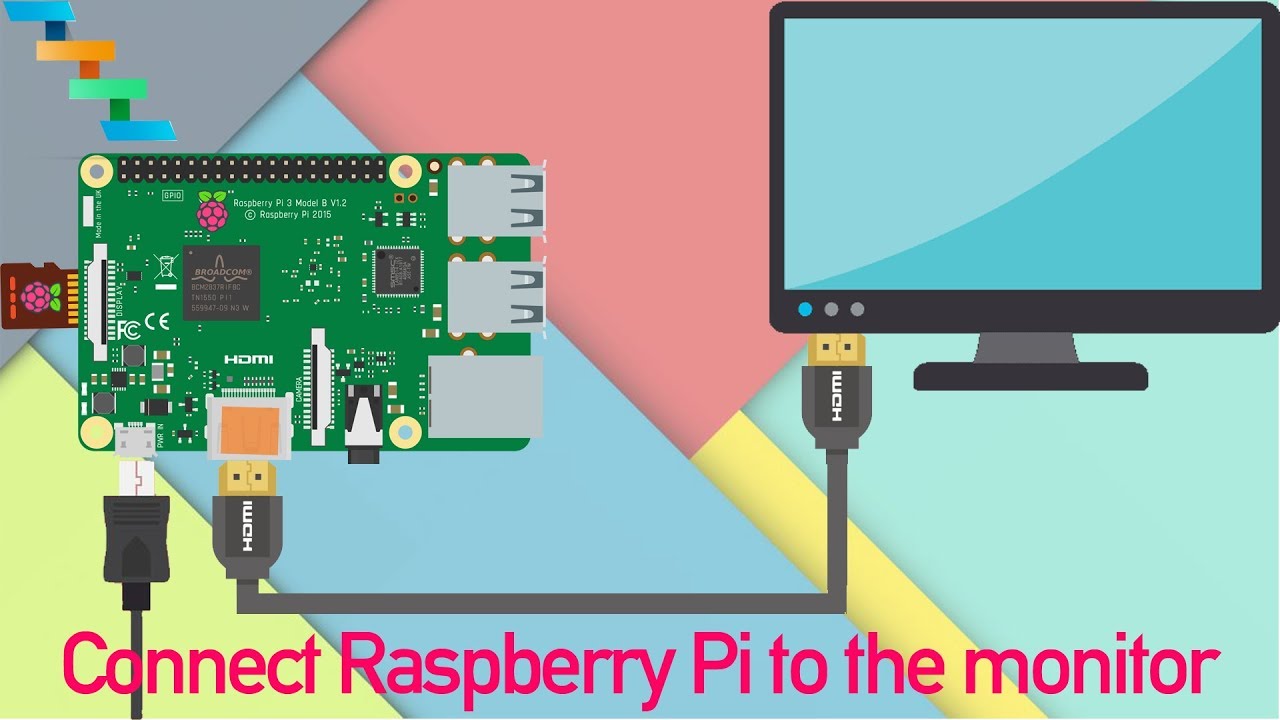
If you want a more visual interface, you can use VNC (Virtual Network Computing) or RDP (Remote Desktop Protocol) for remote access, which offers a graphical user interface. With VNC, you can view and control your Raspberry Pi's desktop from your Mac or another device.
However, these direct methods might not work if your Raspberry Pi is behind a firewall. To solve this, you can use a VPN. A VPN creates an encrypted connection between your device and your home network, allowing you to access your Raspberry Pi as if you were connected to the same local network. Another alternative to port forwarding is to use cloud-based solutions that act as intermediaries.
This quick guide will help you remotely manage and control a fleet of Raspberry Pi over the cloud easily! Following a few simple steps is often all that is needed to start remotely accessing your Raspberry Pi.
The first key is to set up your Raspberry Pi for remote access without ever attaching a monitor or keyboard, which can be achieved by tweaking a few files on its microsd card. The Raspberry Pi OS Bookworm is the latest operating system.
Let's break down the key steps and their specific considerations.
1. Choosing the Right Tools: Before you begin, make sure you have the right tools. You'll need a Raspberry Pi, an SD card with the Raspberry Pi OS installed, a computer to configure the SD card, and a network connection.
2. Enabling SSH: SSH (Secure Shell) is essential. It allows you to connect to your Raspberry Pi remotely via the command line. You can enable SSH by creating an empty file named "ssh" (without any file extension) on the boot partition of your SD card. You can then connect to your Raspberry Pi using your preferred SSH client.
3. Connecting to Your Network: You need to configure your Raspberry Pi to connect to your home network. There are two main ways to do this:
- Using a Static IP: This ensures your Raspberry Pi has a fixed IP address, making it easier to connect to remotely. You can set this up by editing the "cmdline.txt" and "wpa_supplicant.conf" files on your SD card before booting up your Raspberry Pi.
- Using a Dynamic DNS Service: If your home IP address changes, a dynamic DNS service can help you connect to your Raspberry Pi using a consistent domain name.
4. Accessing Through a Firewall: This is where it gets tricky. If your Raspberry Pi is behind a firewall, you may need to configure port forwarding on your router. This allows incoming connections on a specific port to be forwarded to your Raspberry Pi. If port forwarding isn't possible, consider using a VPN or cloud-based solution.
5. Security: Always prioritize security. Change the default password for your Raspberry Pi and consider using SSH keys instead of passwords for authentication. Keep your software updated to patch any security vulnerabilities.
When setting up your Raspberry Pi, be sure to follow these steps carefully. Incorrect settings can result in the inability to access the Raspberry Pi. A secure connection is paramount, which means utilizing strong passwords, enabling encryption, and keeping the system updated with the latest security patches. Always make sure you know your network settings, including your public IP address, or a domain provided by a dynamic DNS service.
For those unable to configure port forwarding or seeking a simpler solution, cloud-based services are worth exploring. SocketXP IoT Remote Access Solution is one such option that allows you to SSH, VNC, or RDP into your Raspberry Pi remotely over the internet without requiring complicated network configurations.
Remember, remote access to your Raspberry Pi opens up a world of possibilities for tech enthusiasts, developers, and hobbyists alike. So, by tweaking a few files on its microsd card, you can set your Raspberry Pi for remote access without ever attaching a monitor or keyboard.