Is remote access to your Raspberry Pi a dream or a reality? Harnessing the power of Virtual Network Computing (VNC) offers a seamless way to control your Raspberry Pi from virtually anywhere, transforming your tiny computer into a versatile remote powerhouse.
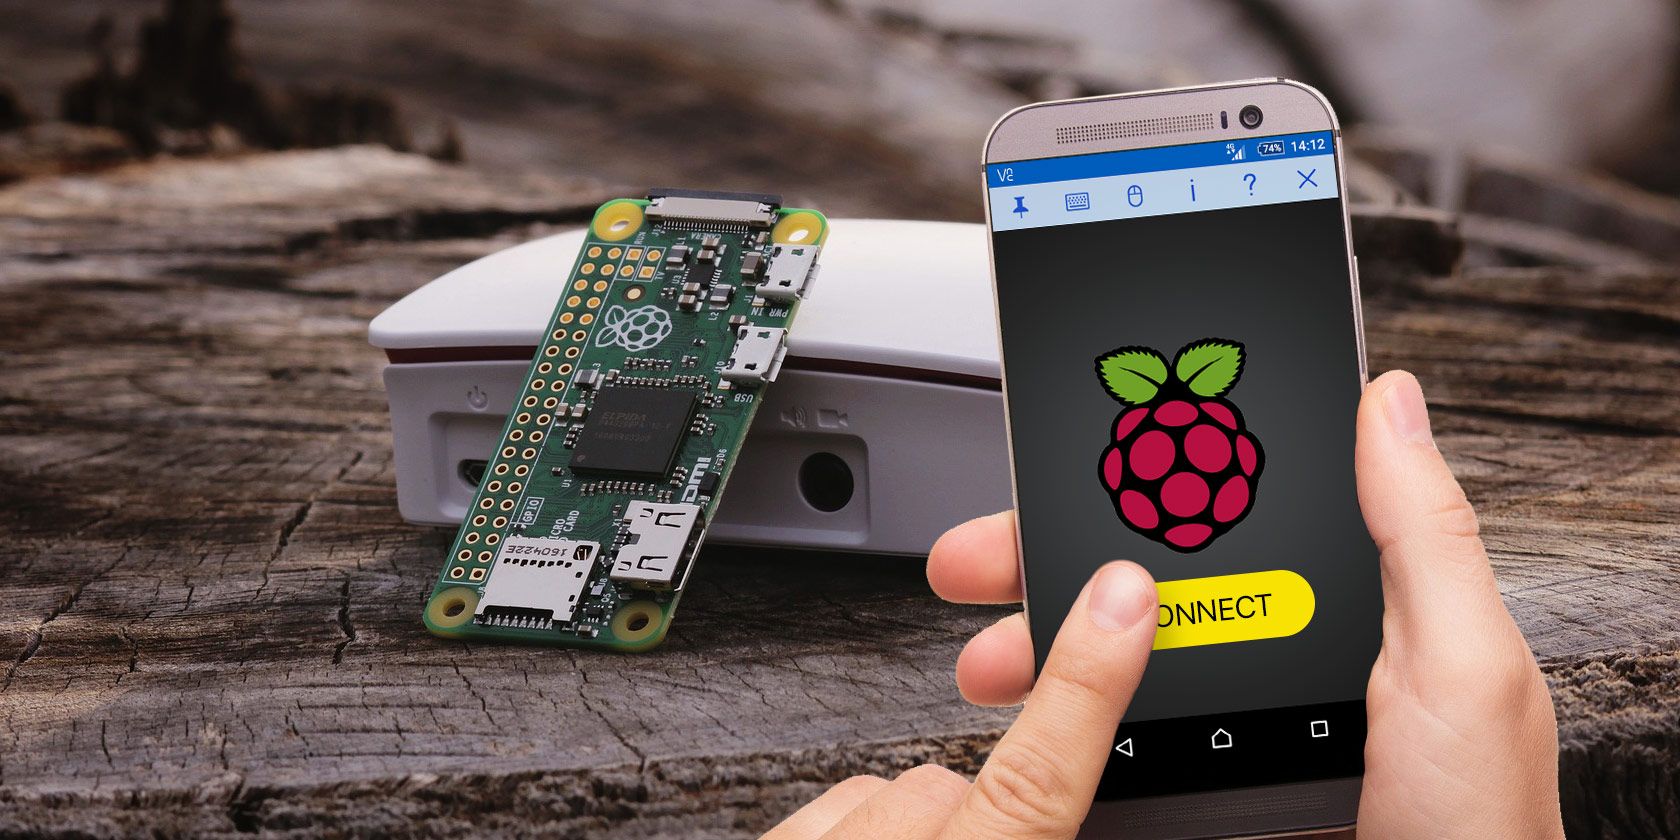
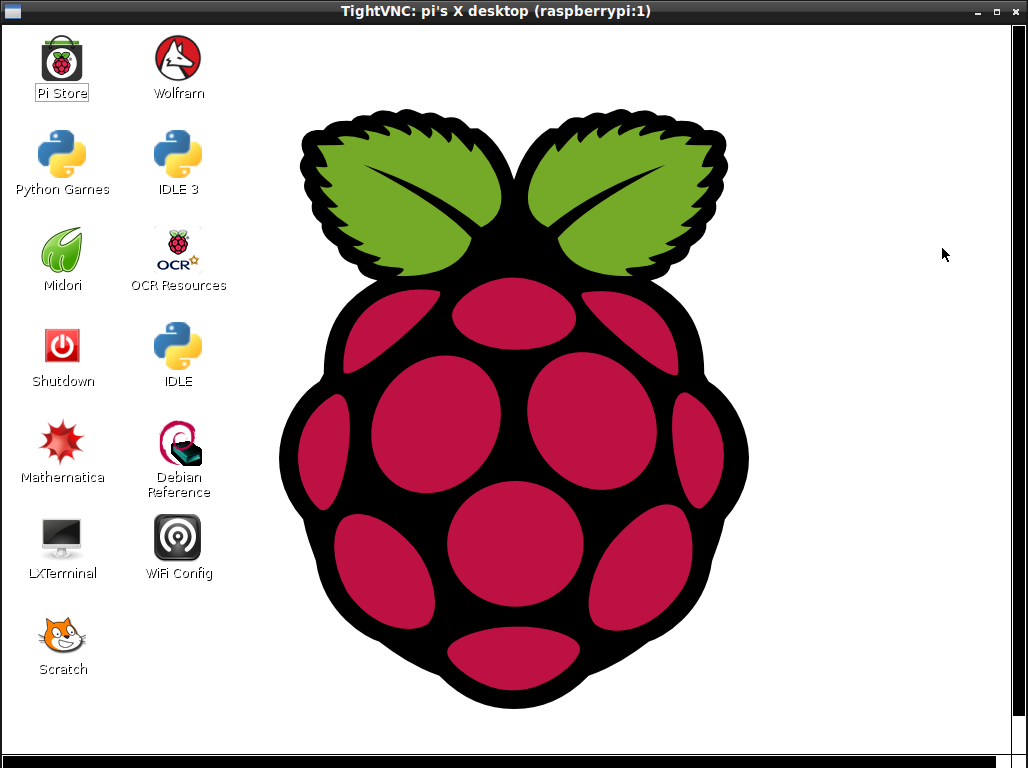
The digital landscape is constantly evolving, and the ability to interact with devices remotely has become increasingly crucial. VNC provides a simple, efficient, and relatively inexpensive solution for accessing and controlling your Raspberry Pi. Imagine the convenience of managing your home automation system from your office, monitoring a science project from across the country, or simply troubleshooting a technical issue without being physically present. The concept is straightforward: a client device (your laptop, tablet, or phone) connects to a server application running on the Raspberry Pi, allowing you to view and interact with the Pi's desktop environment as if you were sitting directly in front of it.
The elegance of VNC lies in its simplicity. The core mechanism involves the transmission of graphical data and input signals. When you use VNC, the client device transmits keyboard and mouse events to the server. The server, in this case, your Raspberry Pi, then executes those events on your system and returns screen updates back to the client. This two-way communication creates a real-time, interactive experience. The setup is relatively simple, and the open-source nature of many VNC implementations, especially for the Raspberry Pi, makes it a cost-effective solution.
However, accessing your Raspberry Pi remotely isn't always as straightforward as it appears. While the process is generally simple within a local network, setting up remote access can introduce complexities. Firewalls, network configurations, and security protocols all play a role in determining the ease with which you can connect to your Raspberry Pi from outside your home network. Furthermore, it's crucial to understand the nuances of different VNC software and licensing options, which can impact both the cost and the capabilities of your remote access solution. The aim of this article is to demystify the process, providing practical insights and clear guidance for anyone looking to leverage the power of VNC for their Raspberry Pi projects.
One of the most significant benefits of using VNC with a Raspberry Pi is the platform's accessibility. The client, the device you physically interact with your laptop, desktop, tablet, or phone doesn't have stringent requirements. It only requires a VNC viewer application. The real magic happens on the server side, on your Raspberry Pi. The Pi, because of its size and relatively low power consumption, is perfect for this type of application. Because it is compact and runs on a low budget, it fits perfectly into a lot of applications and projects. The Raspberry Pi can be placed in various remote locations, providing remote access where physical presence is not always an option.
Consider the possibilities. With VNC and a RealVNC account, you can extend your Raspberry Pi's reach across the wider internet. This feature opens doors to a range of applications, from remote server management to interactive educational projects, to home automation.
Let's explore the intricacies. One of the biggest challenges is the availability of the service for free. Strictly speaking, it's only free if the VNC server is running on a Raspberry Pi and the VNC client/viewer is running on Windows, Mac, or Linux (including Raspbian). If you want to run the VNC server on Windows, Mac, Linux (excluding Raspbian), and the VNC client/viewer on Raspbian, you will likely need to pay for an enterprise license. This is a crucial consideration when choosing your setup, especially if you are on a tight budget.
The path to successful VNC access involves several key steps. First, you'll need to install and configure a VNC server on your Raspberry Pi. Then, you will need a VNC client on the device from which you want to control the Pi. This is a straightforward process, but the devil is in the details. Network configuration is important. Ensure your Raspberry Pi is connected to your network, either via Ethernet or Wi-Fi. In many cases, you will also need to configure port forwarding on your router to allow external access to the VNC server. The specific steps will vary depending on your router model. Consider security. Always use a strong password to protect your VNC connection and be aware of the security implications of exposing your Raspberry Pi to the internet. This is especially important if the Pi is controlling other devices or contains sensitive data.
Remember, troubleshooting is part of the process. Sometimes, things just won't work as expected. Be prepared to consult online resources, check your configuration settings, and experiment. Patience and a systematic approach are your greatest assets. Always start by testing the connection within your local network before attempting to access your Raspberry Pi remotely. This will help you identify and resolve any basic configuration issues.